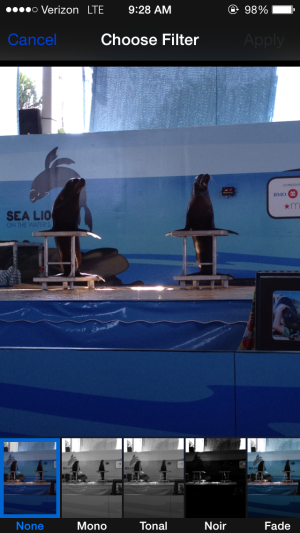
How To Use Built In Photo Filters With The iPhone Native Camera
In my opinion, as well as many others, the iPhone, with its built-in 8MP iSight camera, is one of, if not the best smartphone camera there is. There are many software settings built into the camera to insure the best possible picture you can take, be it a single photo, Burst Mode or even Panorama. If you were to go to Apple.com and watch the camera video, like I did, to refresh what the software and hardware working together does to give you the best picture in the smartphone industry, it will truly amaze you.
This guide is about taking these great pictures and having some fun with them by using incredible built-in filters to give your photos depth, black & white, and various colors, as well as other very unique looks, if you choose to do so.
There are two (2) ways you can accomplish the use of the built-in filters before taking the Photo or after taking the Photo.
First let's look at the before:
When you open your camera, you are going to see this interface: The only reason it is black is because I have a case that has a lens cover over it, and all I wanted was the screenshot.
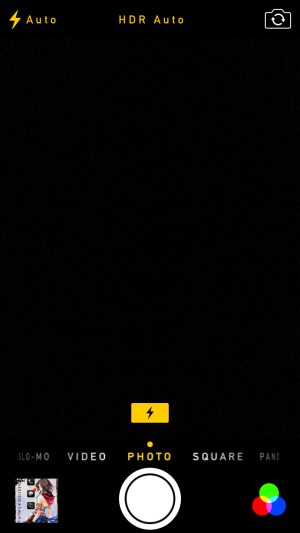
On the bottom right corner above, you will see the 3 colored circles that, when tapped, will bring up the following filters:
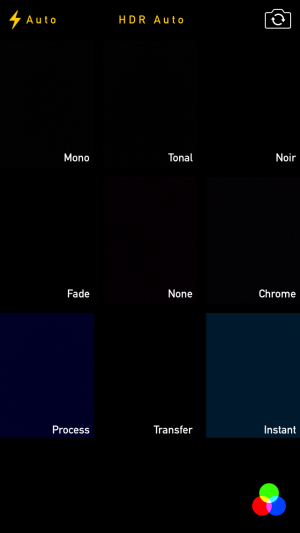
You will now start to see what filters are available to you, and the next photos that will show you the filters used
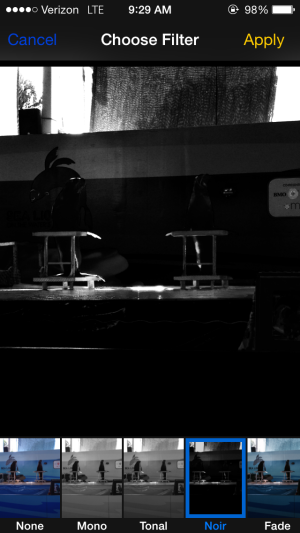
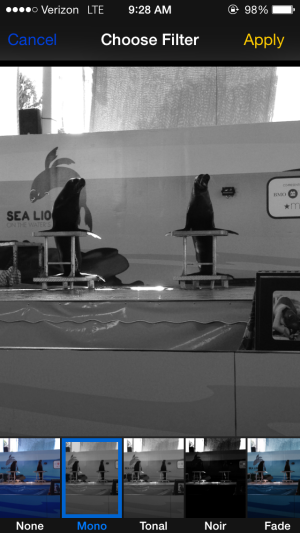

[INFO]The second way to apply a filter is no different than above so this will just be informational. Simply open your camera roll where your new Photos are that you have just taken 'WITHOUT' any filters, and now if you decide you want to take one of the photos and apply a filter, locate the photos and then hit the 'EDIT' button (top right) which will open on the bottom of the screen below the photo - 5 tools you can use to edit your Photos. In the middle, you will see 3 small gray circles that are much smaller than the colored ones above which will open on the bottom a series of the same filters. You can now choose any of the same filters and place any of them afterward and hit 'APPLY' like before to put the filter on the photo and that's it. Depending on the subject matter you are taking pictures of, You can have a lot of fun with these filters but the bottom line is filters or not - You are able to take the best pictures with an 8MP Smartphone camera that is simply the best there is. Have Fun![/INFO]
Last edited by a moderator:


