
In the iOS 9 Mail app, when you attach a photo to your email, you can also markup the photo. It?s easy to do, and perfect for sending photos between friends with small notes or funny markups, as well as photos with added text or your signature.
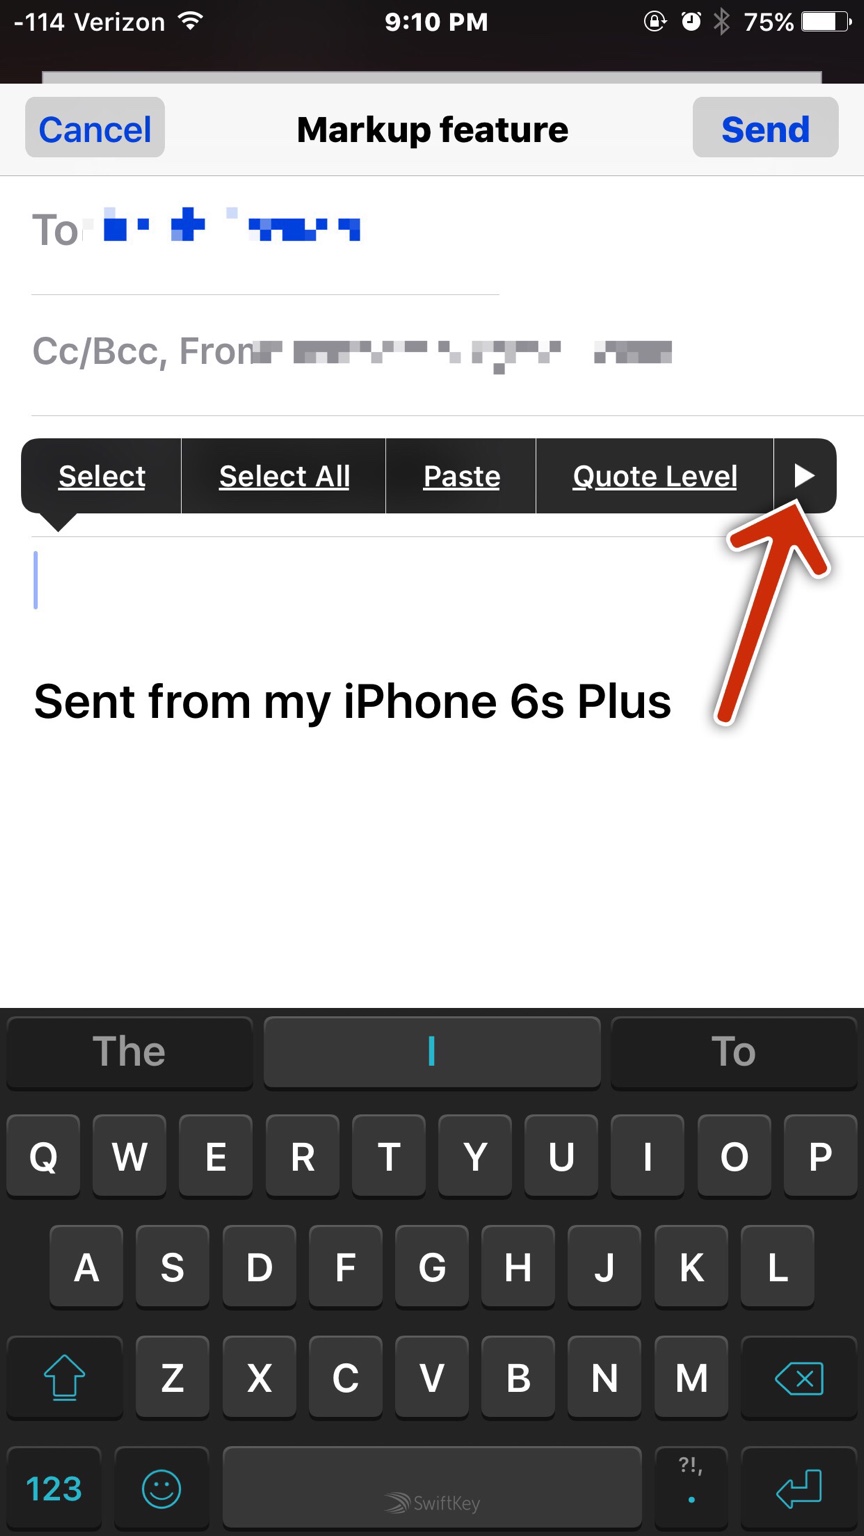
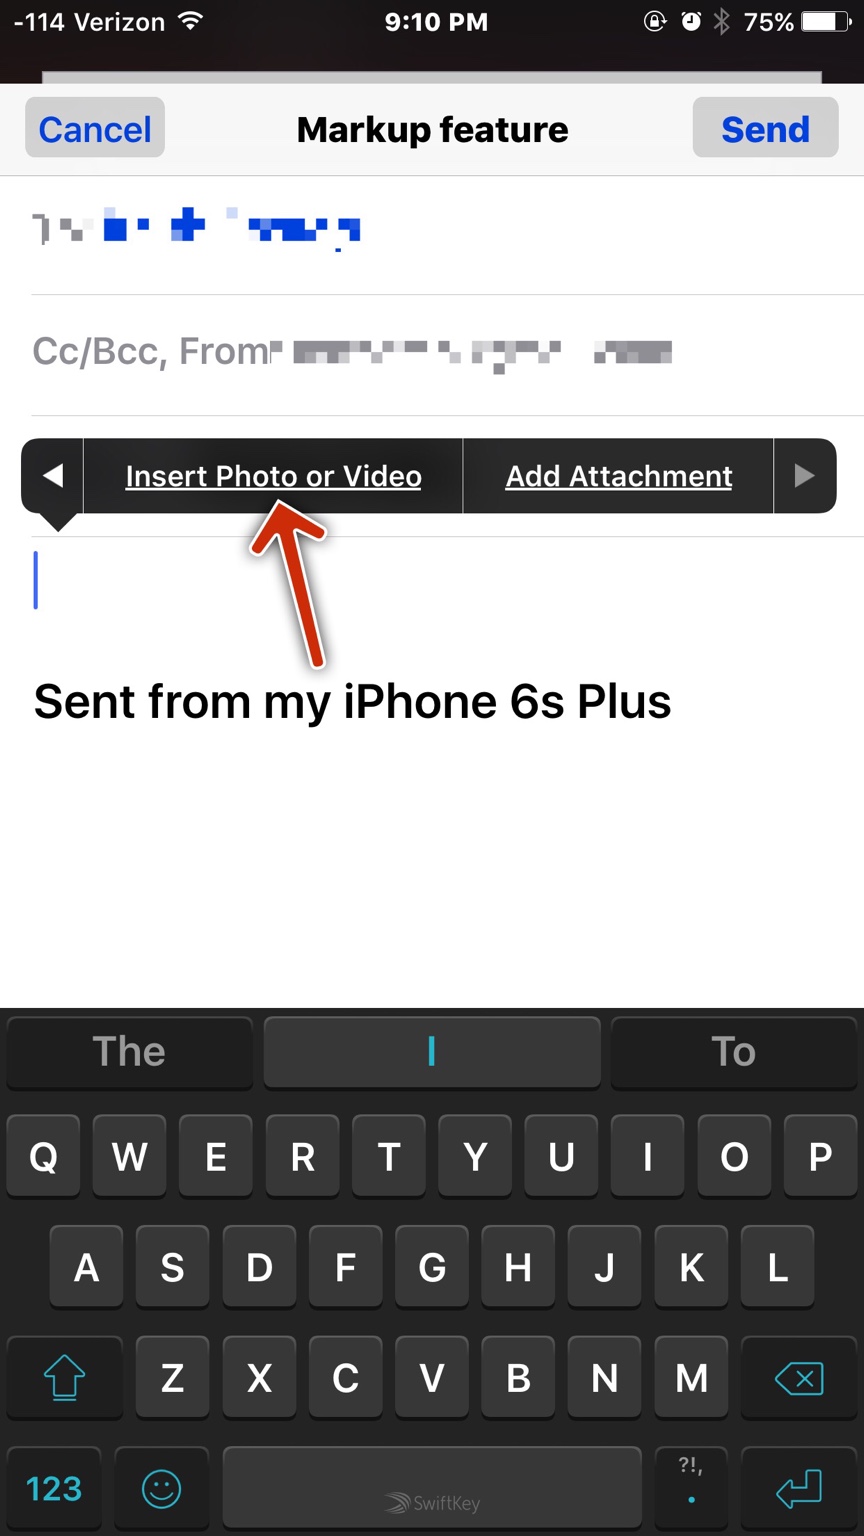
To begin, open your Mail app and start composing a new email. Press and hold or double tap the white text space, and a menu bar with options and an arrow will open. Select Insert Photo or Video.
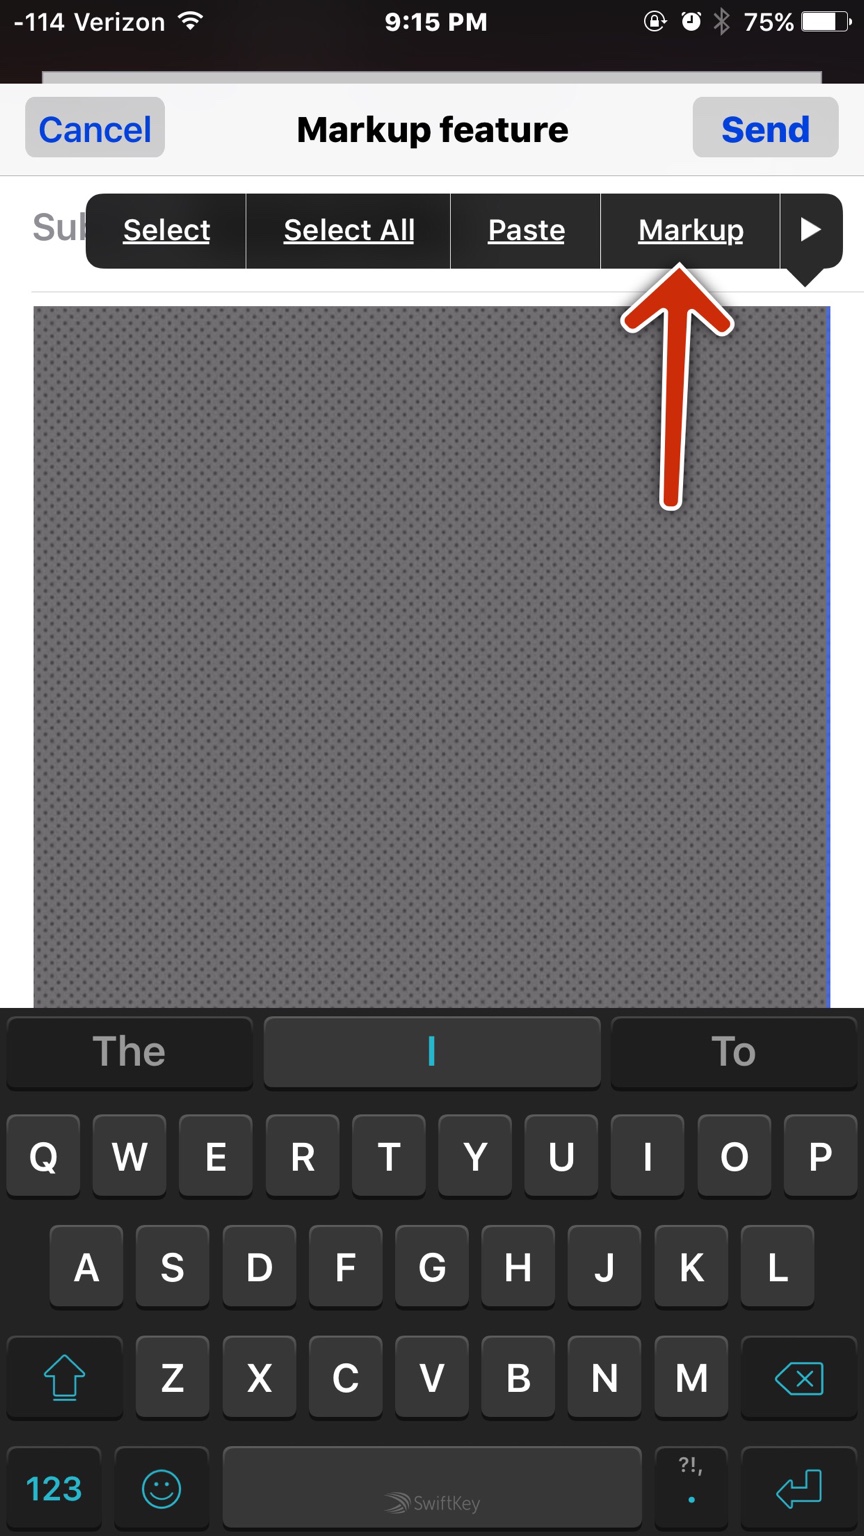
Choose your picture and it will be added to the email. Tap and hold the photo and the options menu will open. Select Markup. Choose your picture and it will be added to the email. Tap and hold the photo and the options menu will open. Select Markup.
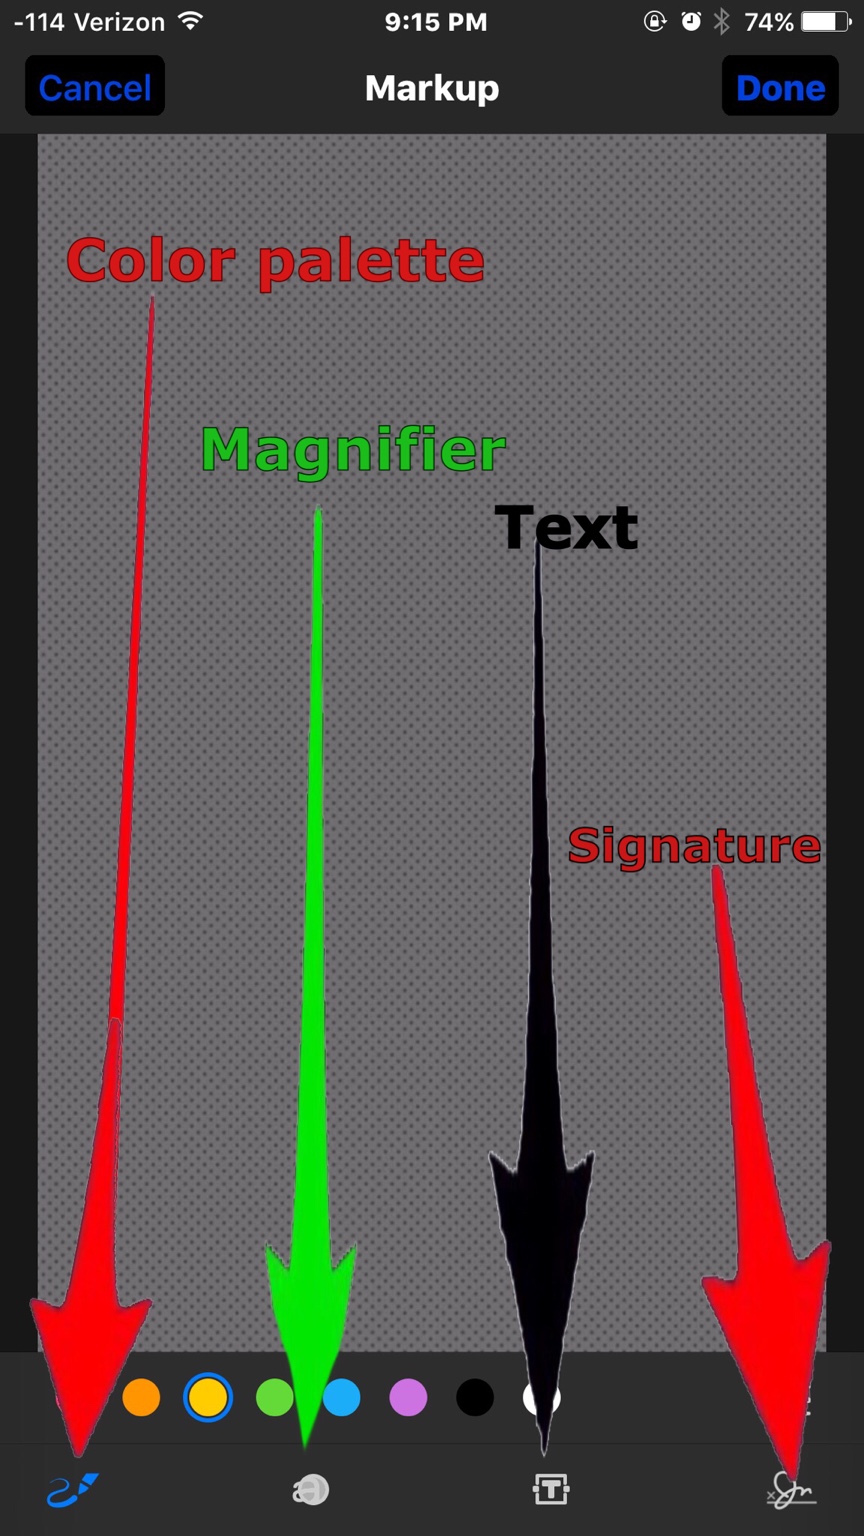
The markup editor will appear. In the photo editor you can sketch with your finger, view sections in zoom, add text, and include your signature. When you?ve added your changes, select Done.
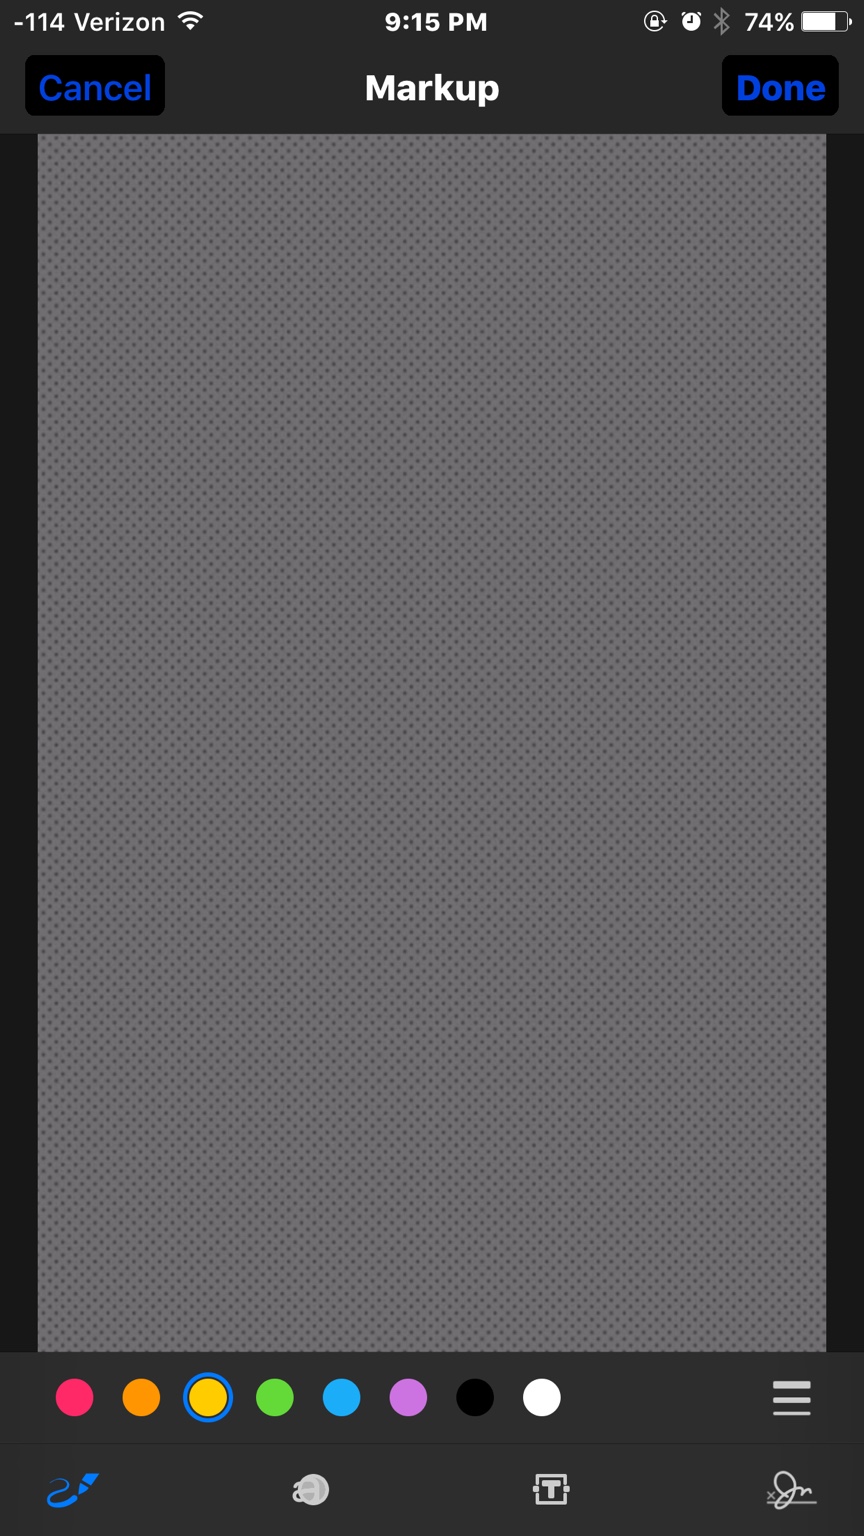
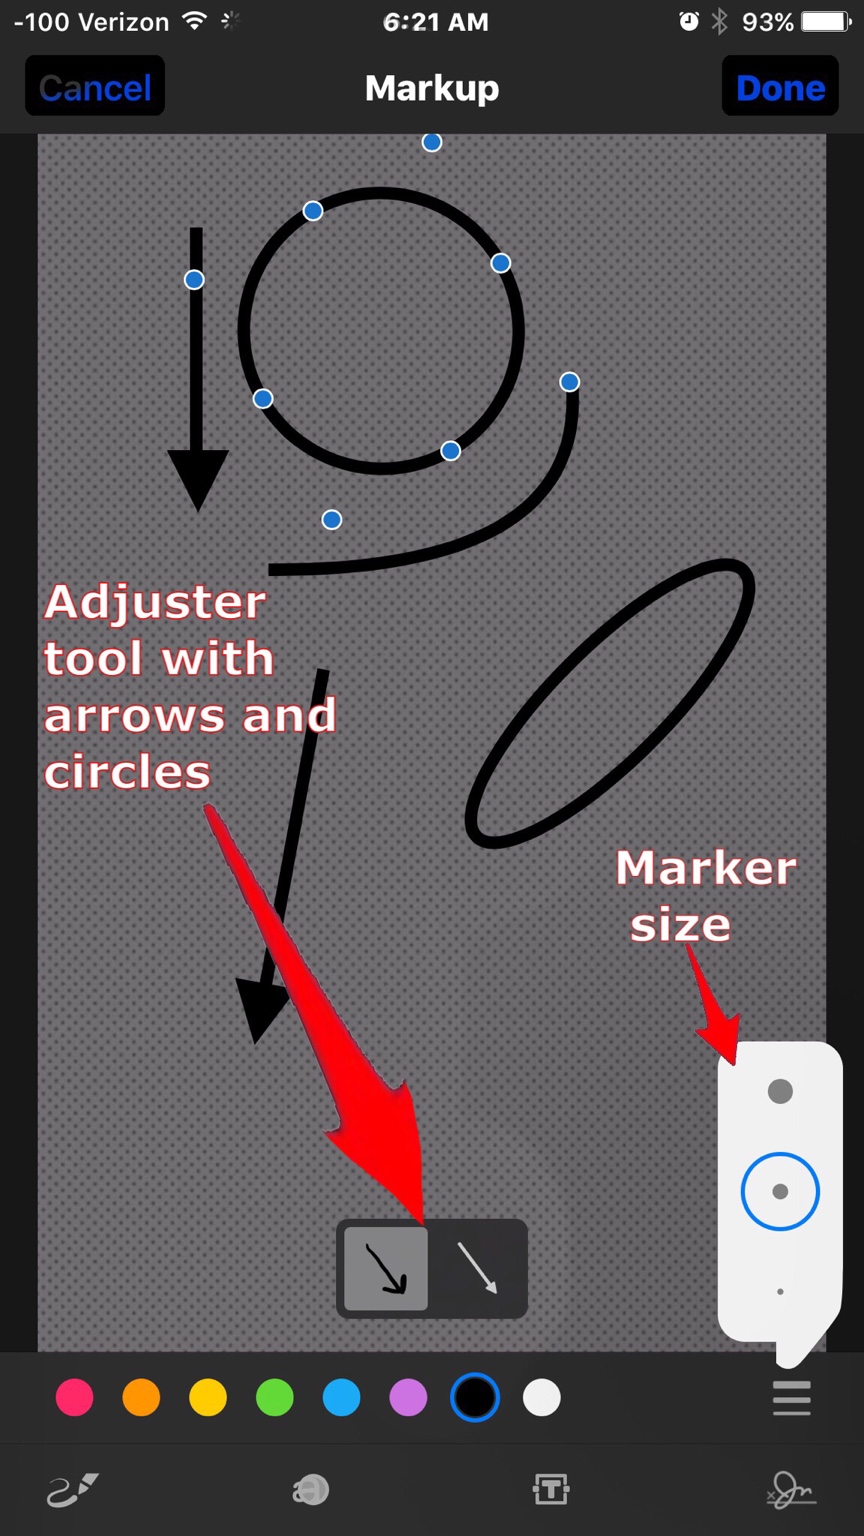
Options are as follows:
The adjuster tool does several things. It's brought up by drawing something like a circle, a line, or arrow. Tapping it allows adjustments to the mark you made.
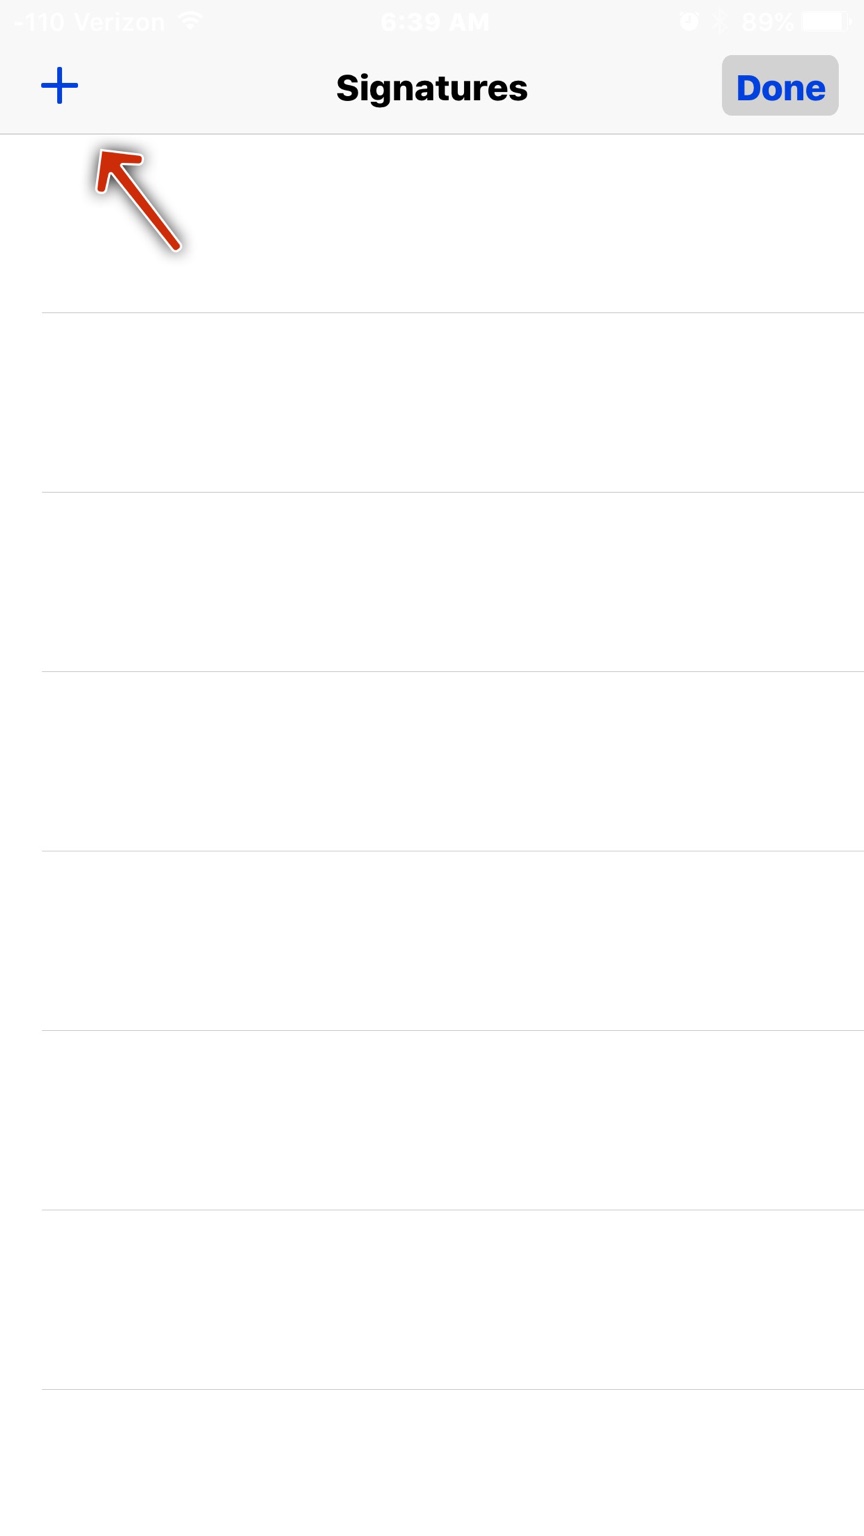
The signature option is a welcome feature that can create and place your signature on images and PDF documents. Here's how it works.
Tap the signature icon option. Then tap the +.
Now enter your signature on the signature form.
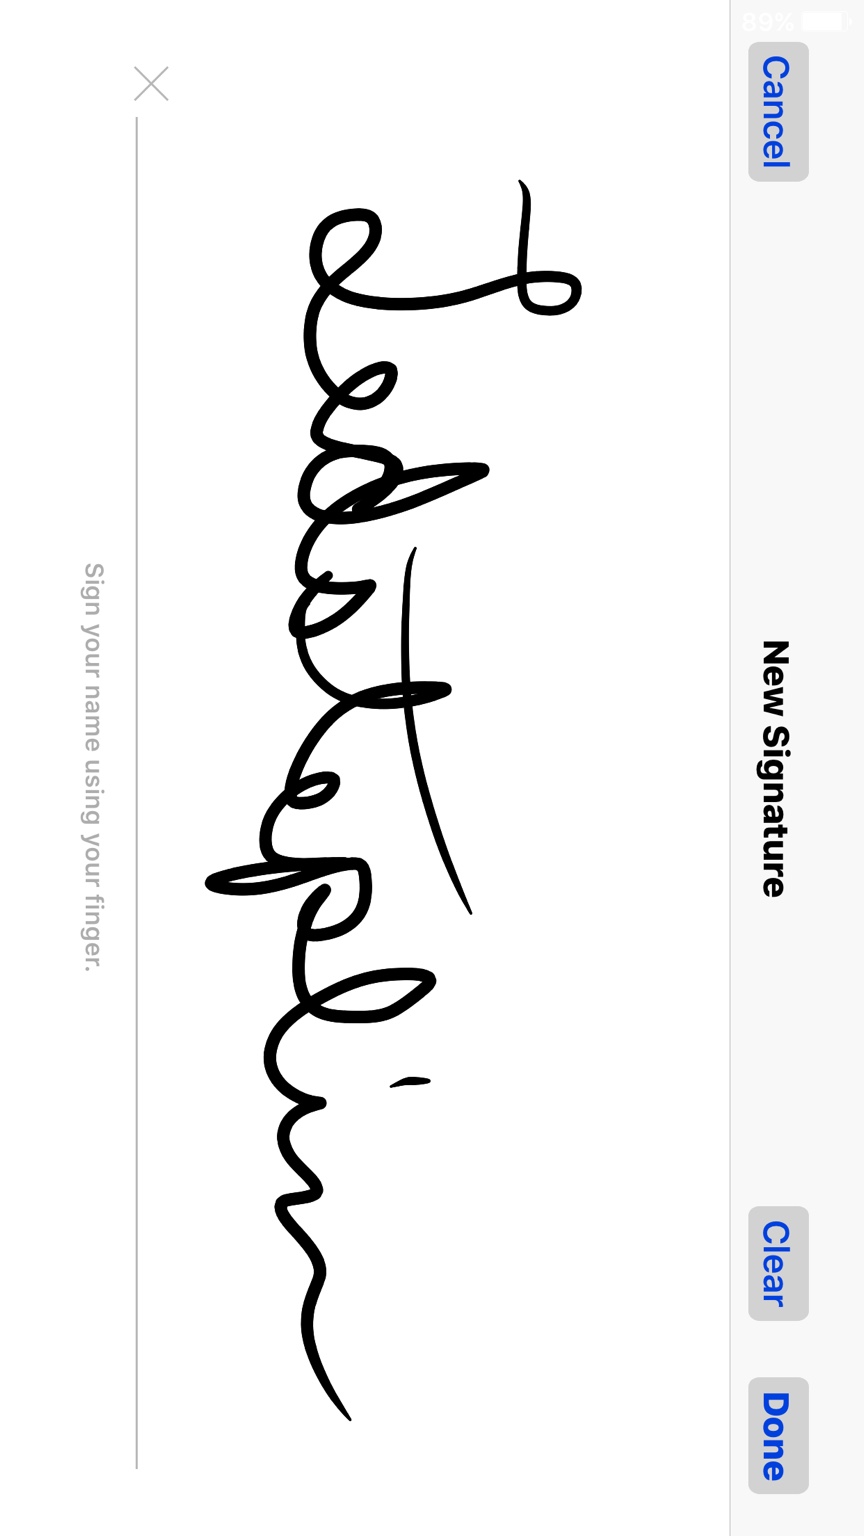
Tap Done and your signature goes on the image or PDF.
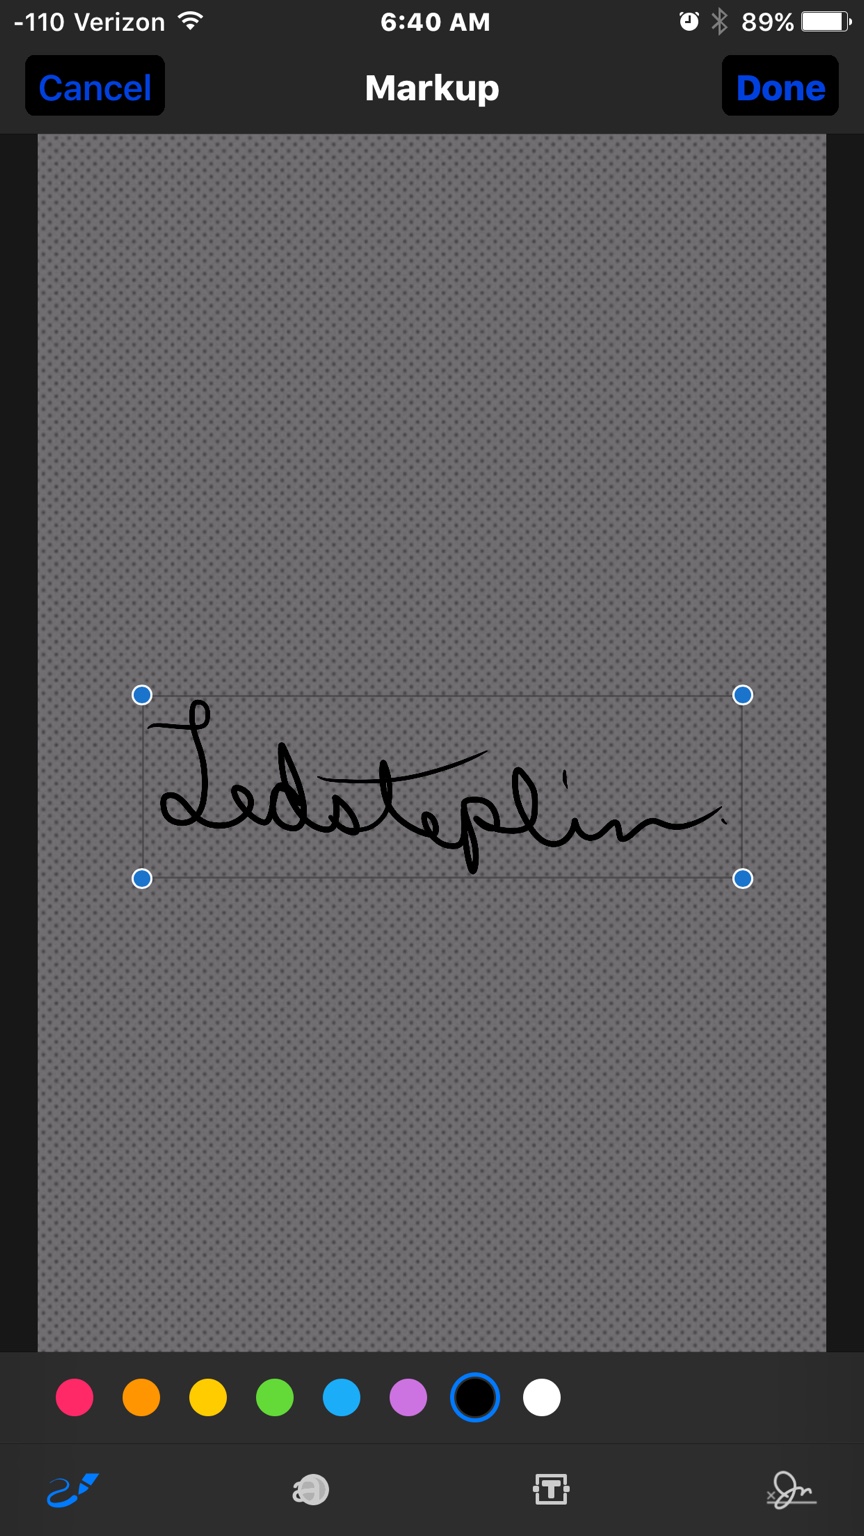
The signature is adjustable for size.
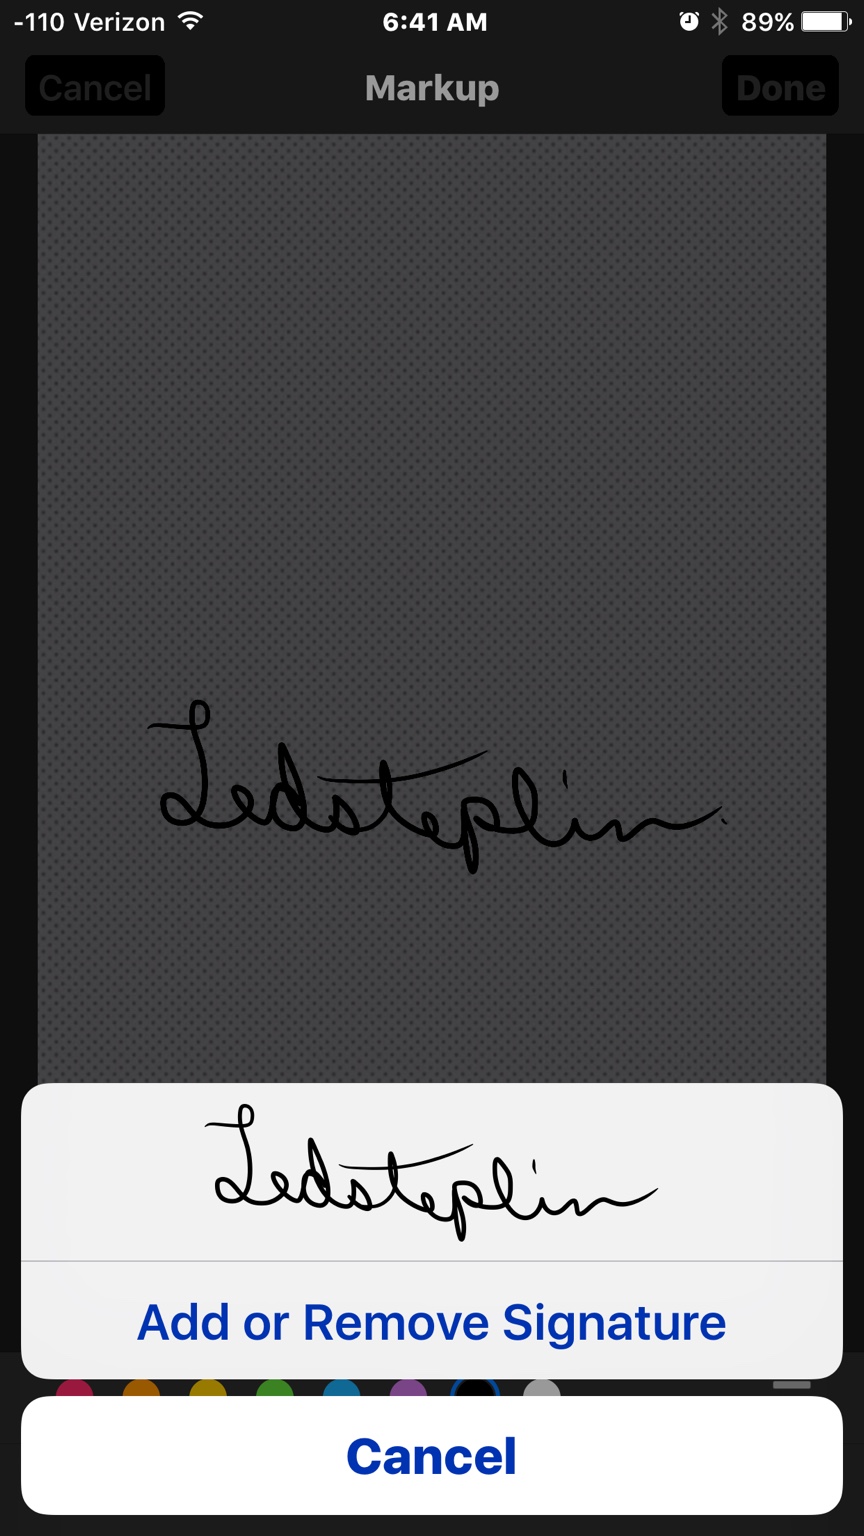
Signatures are retained and to use again you press on the signature on this option pop up.
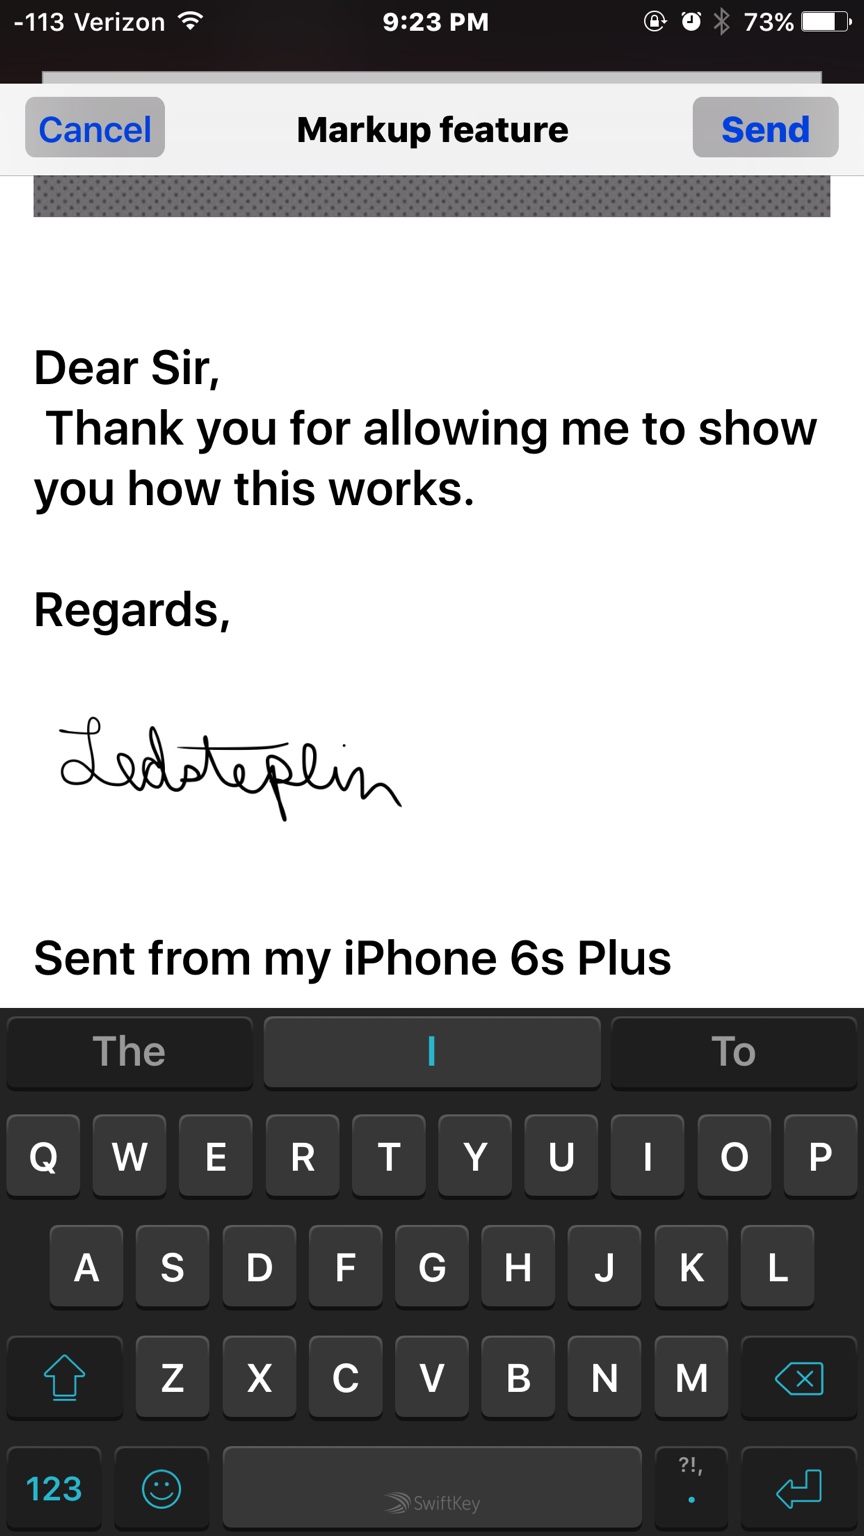
The signature only works on images and PDF docs. Here's one work around.
I made a small white image and placed my signature in the upper left corner. Then put it under the composed letter.

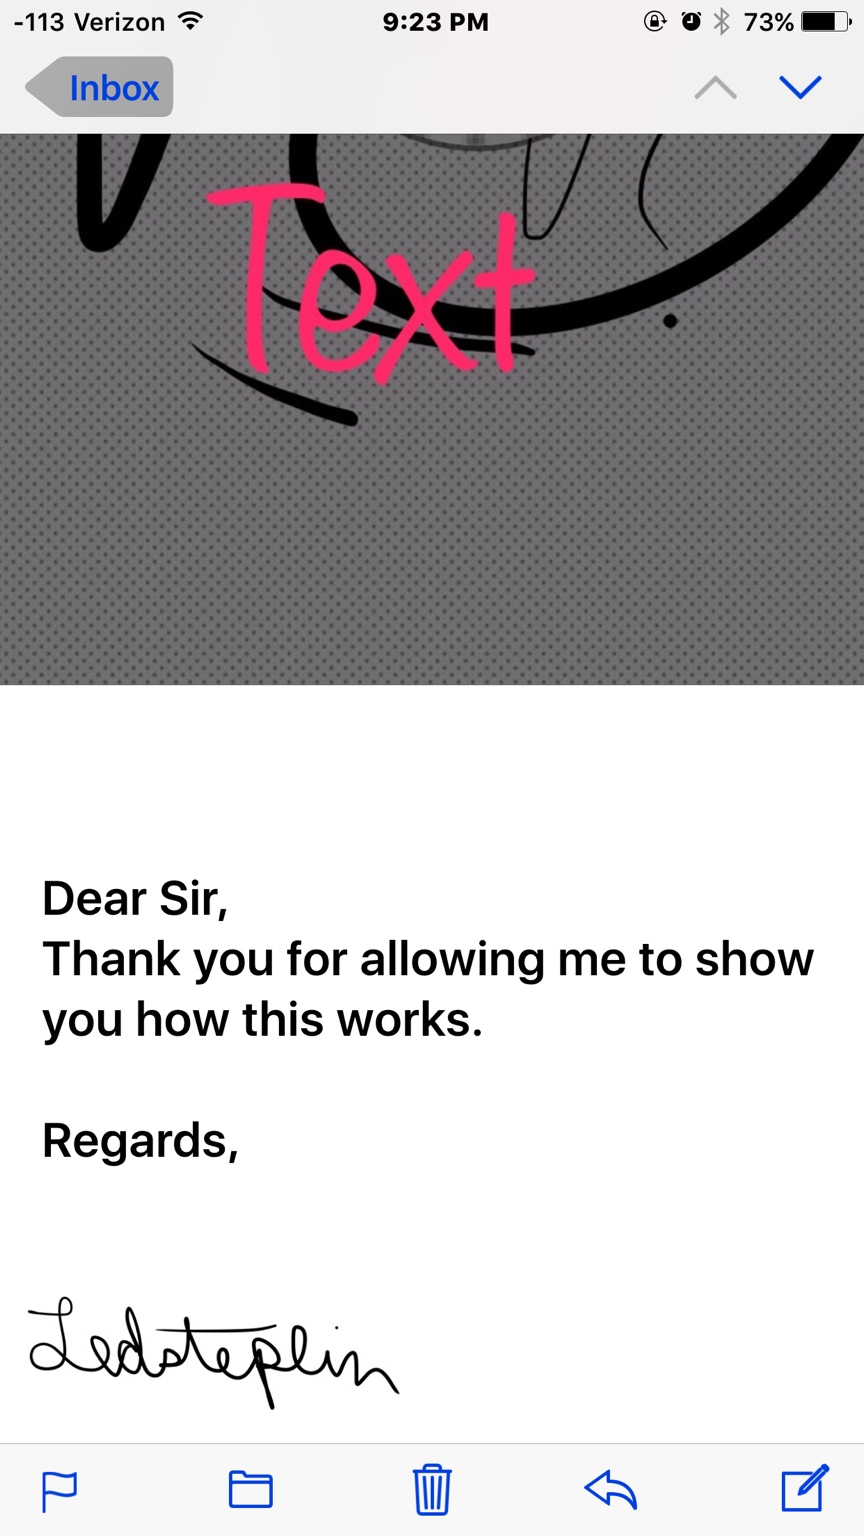
The received mail looks like this.
You may have a better way to add your signature to an email on your phone. I made a png image of my signature and paste in where I need it.
That's it!
To begin, open your Mail app and start composing a new email. Press and hold or double tap the white text space, and a menu bar with options and an arrow will open. Select Insert Photo or Video.
Choose your picture and it will be added to the email. Tap and hold the photo and the options menu will open. Select Markup. Choose your picture and it will be added to the email. Tap and hold the photo and the options menu will open. Select Markup.
The markup editor will appear. In the photo editor you can sketch with your finger, view sections in zoom, add text, and include your signature. When you?ve added your changes, select Done.
Options are as follows:
The adjuster tool does several things. It's brought up by drawing something like a circle, a line, or arrow. Tapping it allows adjustments to the mark you made.
The signature option is a welcome feature that can create and place your signature on images and PDF documents. Here's how it works.
Tap the signature icon option. Then tap the +.
Now enter your signature on the signature form.
Tap Done and your signature goes on the image or PDF.
The signature is adjustable for size.
Signatures are retained and to use again you press on the signature on this option pop up.
The signature only works on images and PDF docs. Here's one work around.
I made a small white image and placed my signature in the upper left corner. Then put it under the composed letter.
The received mail looks like this.
You may have a better way to add your signature to an email on your phone. I made a png image of my signature and paste in where I need it.
That's it!
Last edited by a moderator: